Wet Blending Master Class
There tends to be a natural progression when it comes to miniature painting that almost everyone follows. You first learn how to base coat a model, keeping it clean and all your colours inside the lines like a kindergarten kid learns how to stay inside the lines in their colouring book. Then you progress to drybrushing which provides a nice quick and easy way to add some depth to your painting. The next progression tends to be layering, where you lay down your shadows first then progressively build up layers of lighter tones in increasingly smaller areas until you have a gradation from shade to base colour to highlight. The next level in the painting technique progression is what this article covers: Blending.
Blending is what allows the model to look more natural. It involves smooth transitions of colour from sharp highlight right to the darkest shadow. Done correctly, it can produce very stunning results and create impressive centre pieces for your armies. Mastering the technique can net you great reductions in the amount of time it takes to complete a model as well. It is an advanced technique and while I encourage novice painters to attempt and practice it, I feel it requires a certain level of aptitude and experience to achieve the desired results.
Blending can be achieved by many different techniques. My technique is called wet blending and entails working with two or sometimes 3 colours on the palette at the same time. The paints must be wet (hence the technique name, wet blending) and you must work quickly to ensure the paints do not dry prematurely on the model. Using a wet palette can help keep the paints wet while you practice this technique. You can either buy a wet palette at your local gaming store or you can make your own.
Here’s how it’s done.
1. Mix the colours you want to blend on your wet palette. These can be just your highlight and shade if when blended together they produce a suitable colour. If not, you’ll need to mix on a base coat colour as well. Add plenty of water to each. You want the consistency to be like a cream based soup.
2. Use a good brush that isn’t too thin. I usually use a size 1 or 2 brush for everything. Apply the highlight to one edge of your model where you want to highlight to show. Quickly wash off your brush. While the highlight paint is still wet on your model apply the shading colour to the opposite edge of your model where you want the shadow to show. Quickly clean off your brush again and make sure it’s fairly dry (I’ll run the bristles through my lips to get a good point on the brush and also ensure the proper amount of moisture is on the brush). Now starting from your highlight colour, use your brush to work the highlight colour into the shading colour using quick brushstrokes. You’ll likely find that the highlight has bled into the shadow colour too much. That’s okay. Clean off your brush again and now do the reverse. Work the shadow colour into the highlight colour. You should be able to work one colour into the other and back again while the paint is still wet on your model. If the paint dries, then just try it again.
3. If you needed to do a 3 colour wet blend, this is a little trickier but can be achieved using the same technique. In this scenario, you’ll need to work your highlight to the base coat colour and then when that dries you’ll need to work the base coat colour into the shade. In other words, instead of going one stage: from highlight to shade, you’ll go highlight to base, then base to shade. The paint may be allowed to dry in between these stages.
4. You may have to do this twice maybe even three times to get a smooth blend depending on the opacity of the paint you’re using.
If this is confusing as you read it, try watching this video.
http://www.youtube.com/watch?v=4yiogZB9wOc
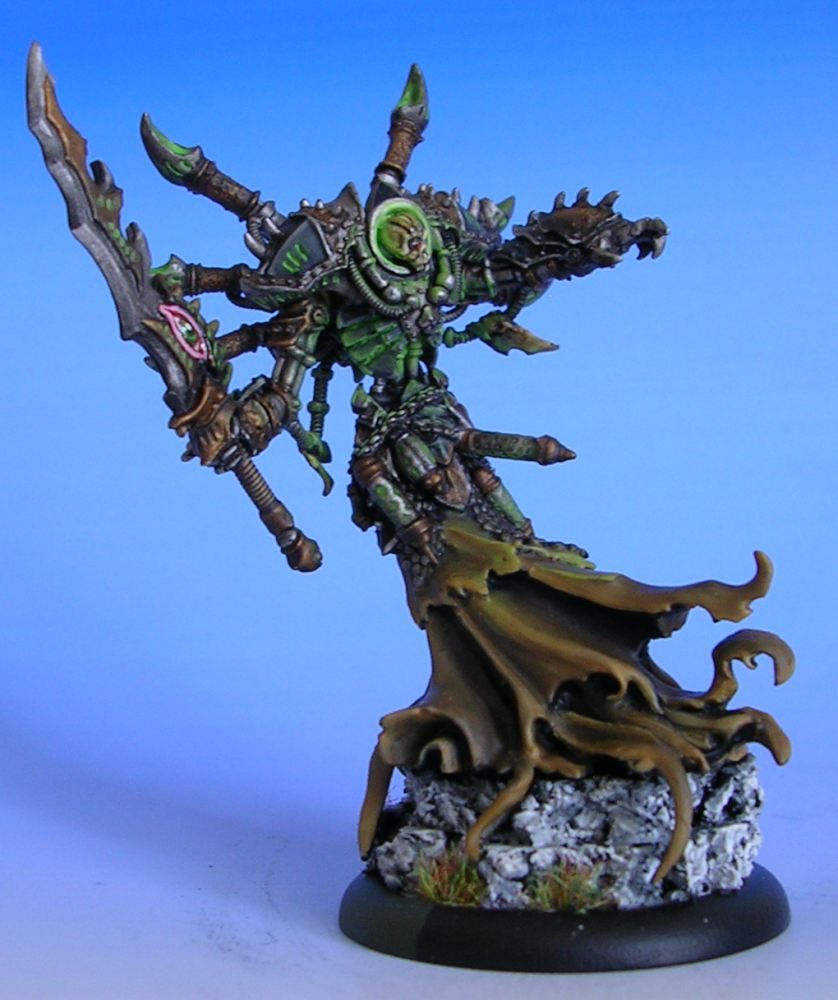
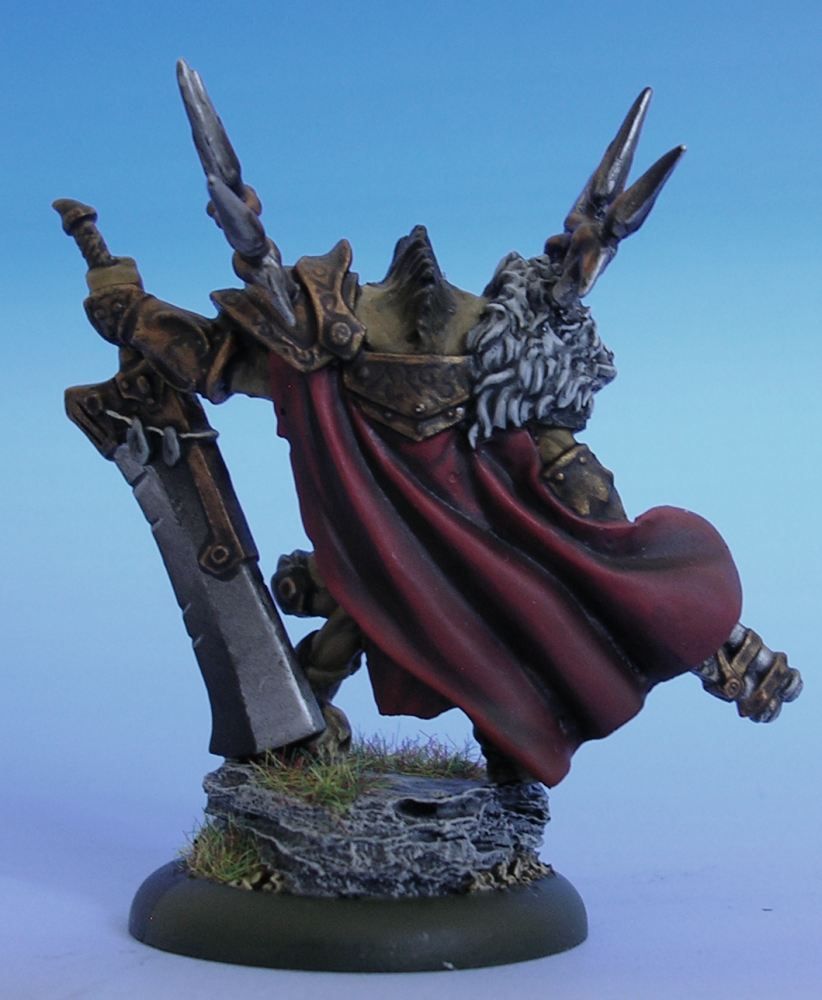
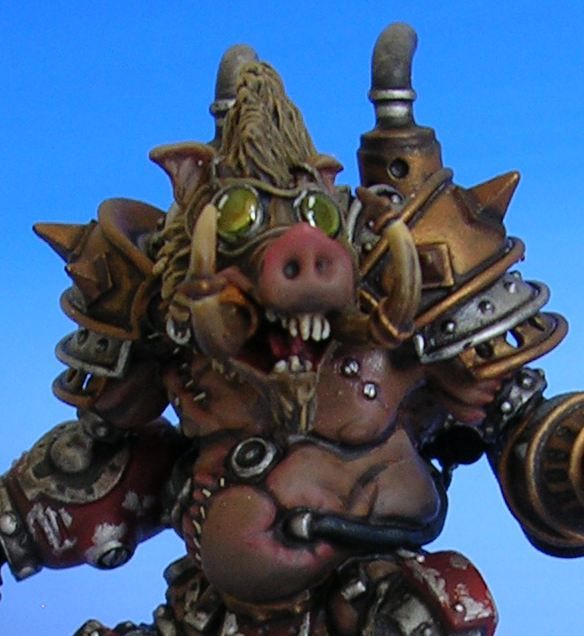
This is by no means an easy technique to master. Do NOT get frustrated with it. Keep practising and you’ll get it eventually. I believe it took me about 6 months to get it just right. There are other methods to blending as mentioned before. I’ll get more videos/articles out to you in the coming weeks that will detail them. You can see some examples of my wet blending technique on the models below.
Until the next time, remember, it’s just paint. It works for you!


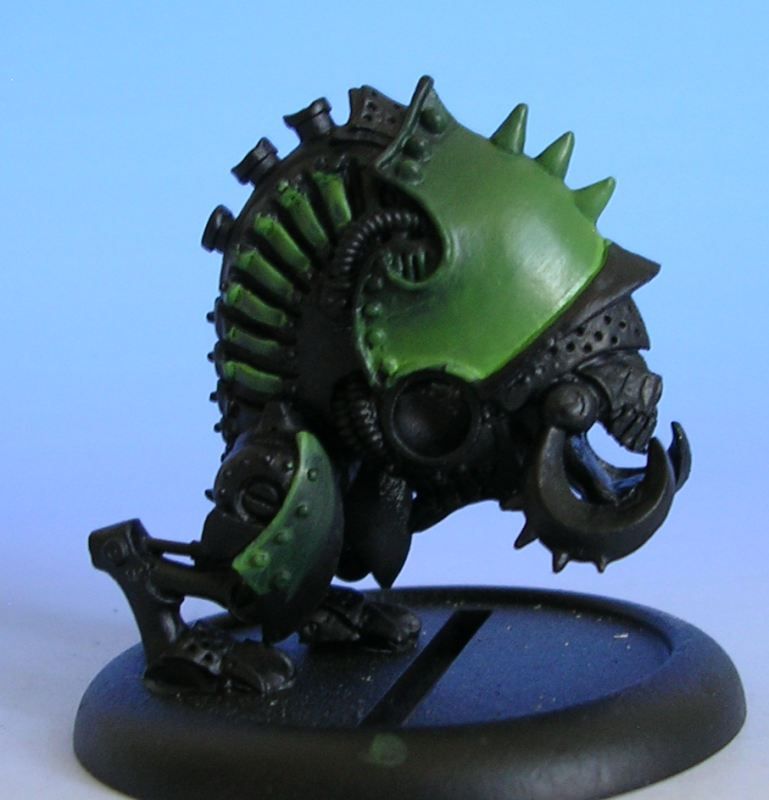
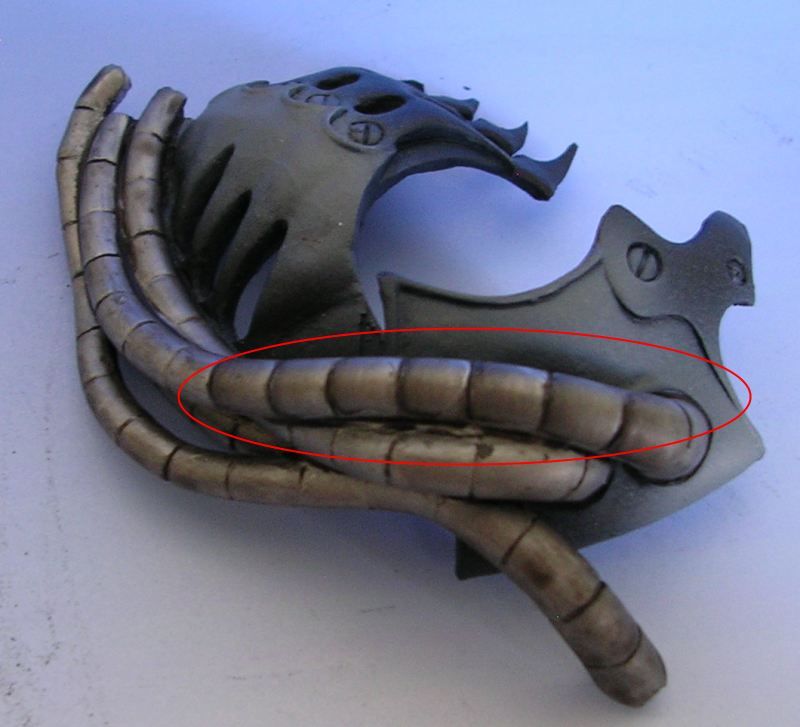
Nicely done Masterseck!!!
Once again a very nice article. I like how you broke the process down to explain that you’re cleaning your brush after you lay the paint down and more importantly are blending with a clean brush. As we’ve talked about in the past this sounds a lot like 2 Brush Blending using 1 brush. I would imagine it would be easier to do this then trying to manipulate 2 brushes, but we shall see. I can’t watch YouTube videos at work but I bet it was a good video. I also really like the Predator pic. Not as good as being uppercutted to death, but still nice.